
Species-Specific Camera Birdhouses
One parametric design, sized to the exact songbird you want to attract — and you can add a built-in Blink camera to watch the nest from the inside.
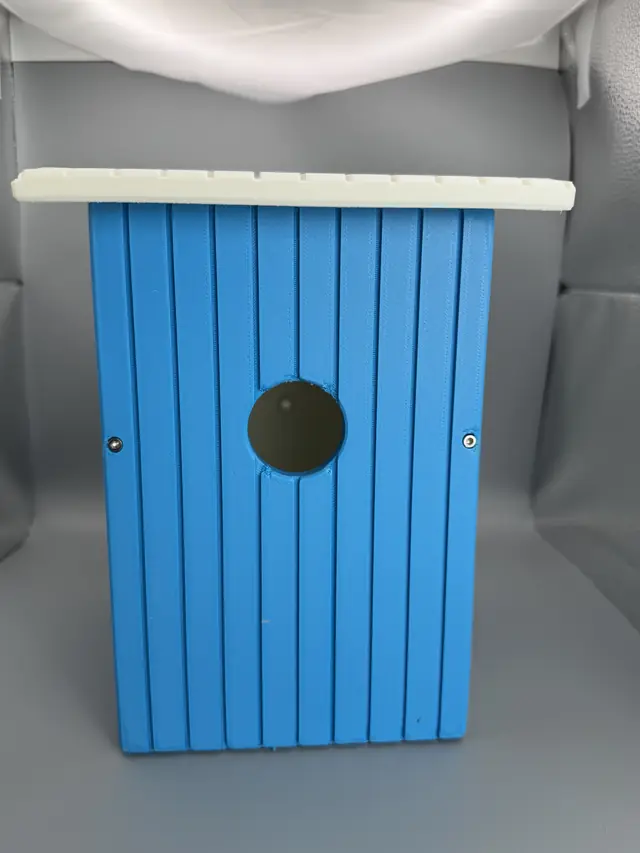
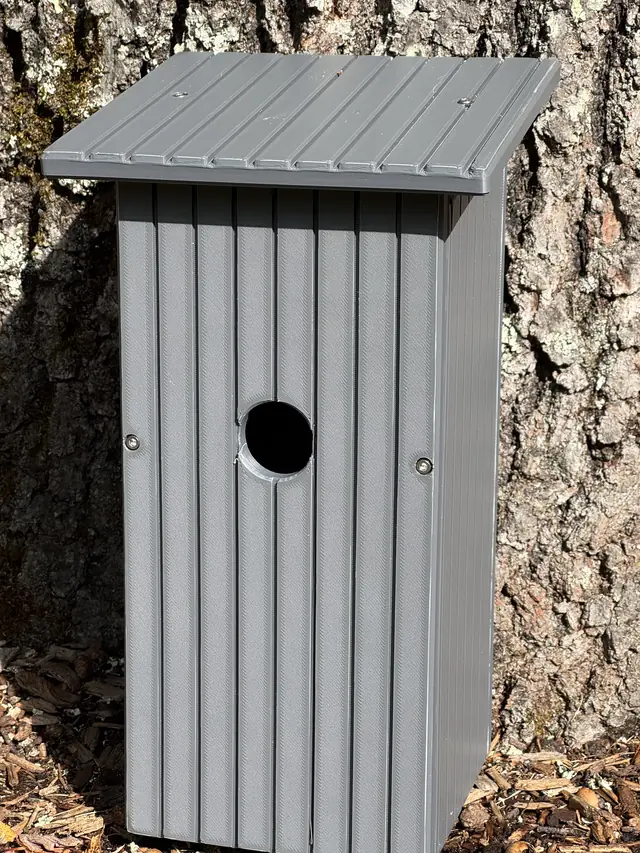
Designed in Fusion and tuned for Bluebirds, Wrens, Chickadees, Titmice, and Nuthatches, each profile carries the Audobon-recommended entry-hole diameter, hole height, floor size, and interior ledge to invite the species you want and discourage the ones you don't. A clip-in cradle for the Blink Outdoor 4 sits under the roof, aimed down at the nest, so you can watch nesting, hatching, and fledging up close.
7 print profiles included · Free download · Standard Digital File License
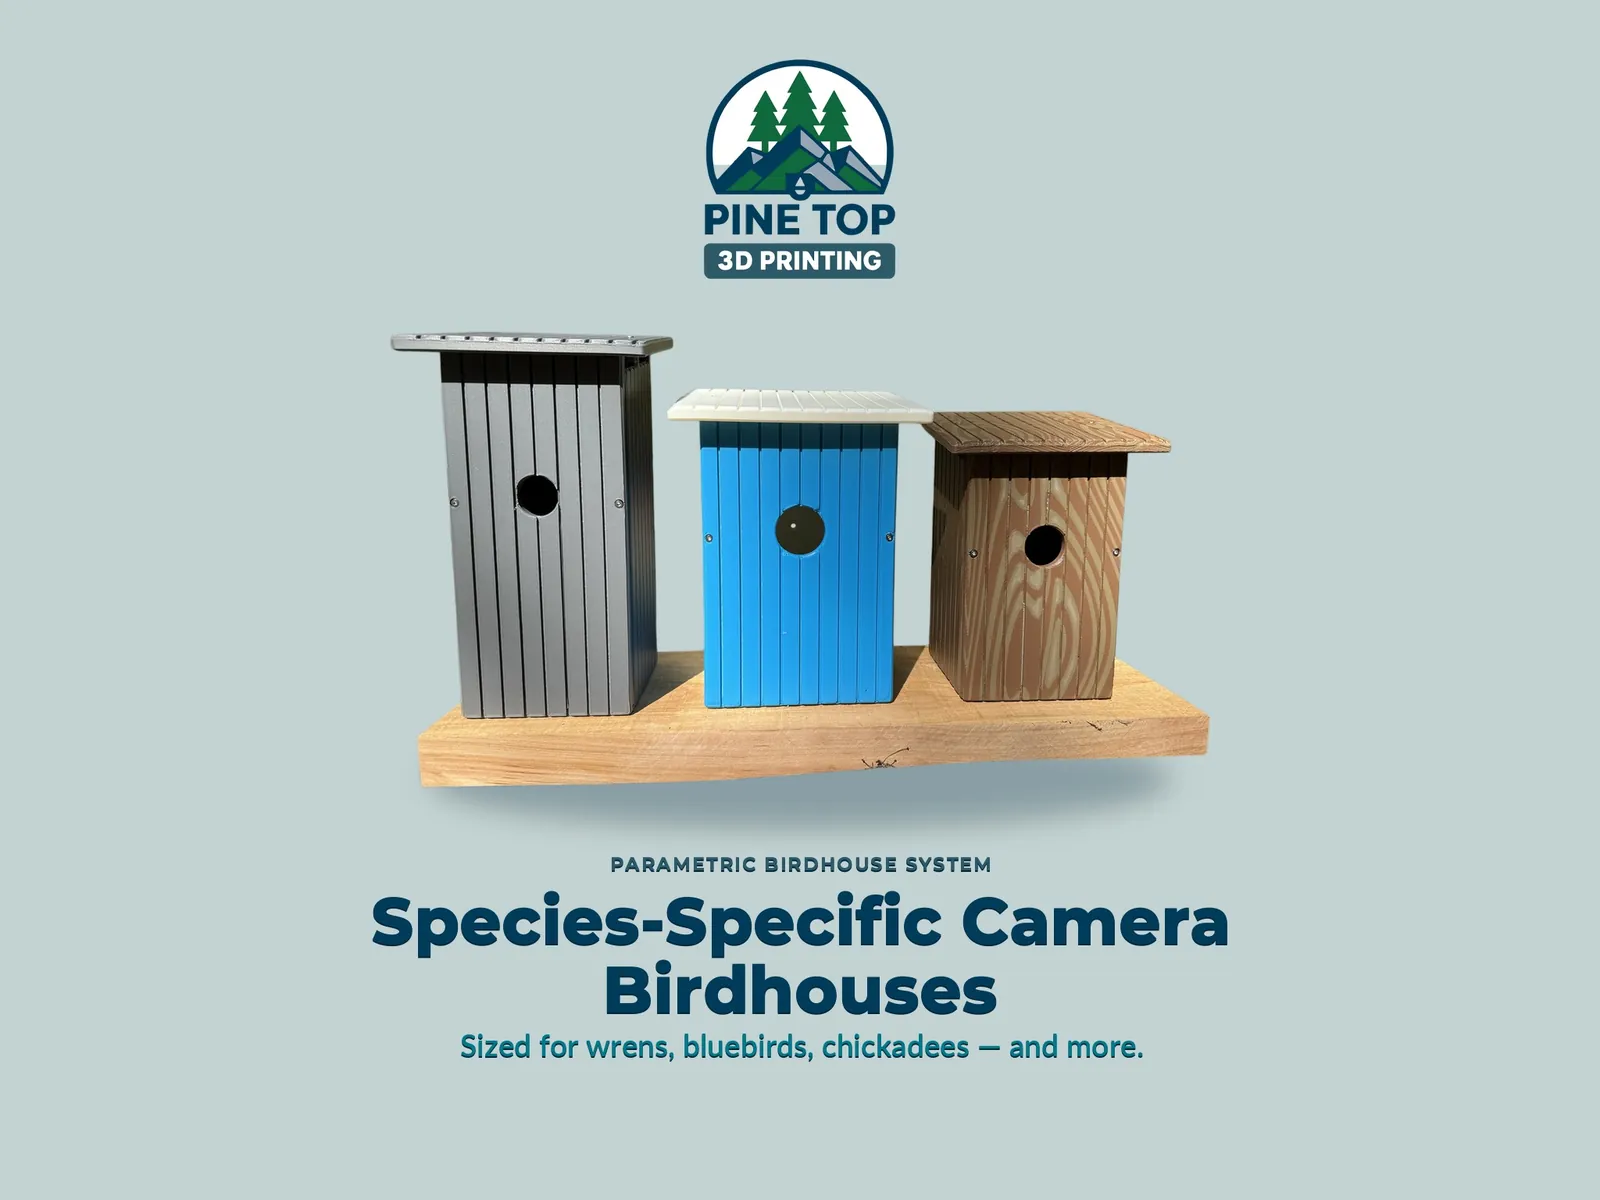
Sized to the species you want
Every dimension that matters to a cavity nester is matched to the target bird: hole diameter, hole height above the floor, and interior floor size, following Audubon recommendations. Interior fledging ledges are added where recommended so young birds can reach the entrance.
Separate front panels are included for the close variants — Eastern vs. Western/Mountain Bluebirds, Carolina vs. other Wrens, and Nuthatches vs. Chickadees and Titmice — so one design covers a whole backyard's worth of species, and a 1 ½″ hole deters House Sparrows and Starlings from hijacking a bluebird box.
A camera built into the roof
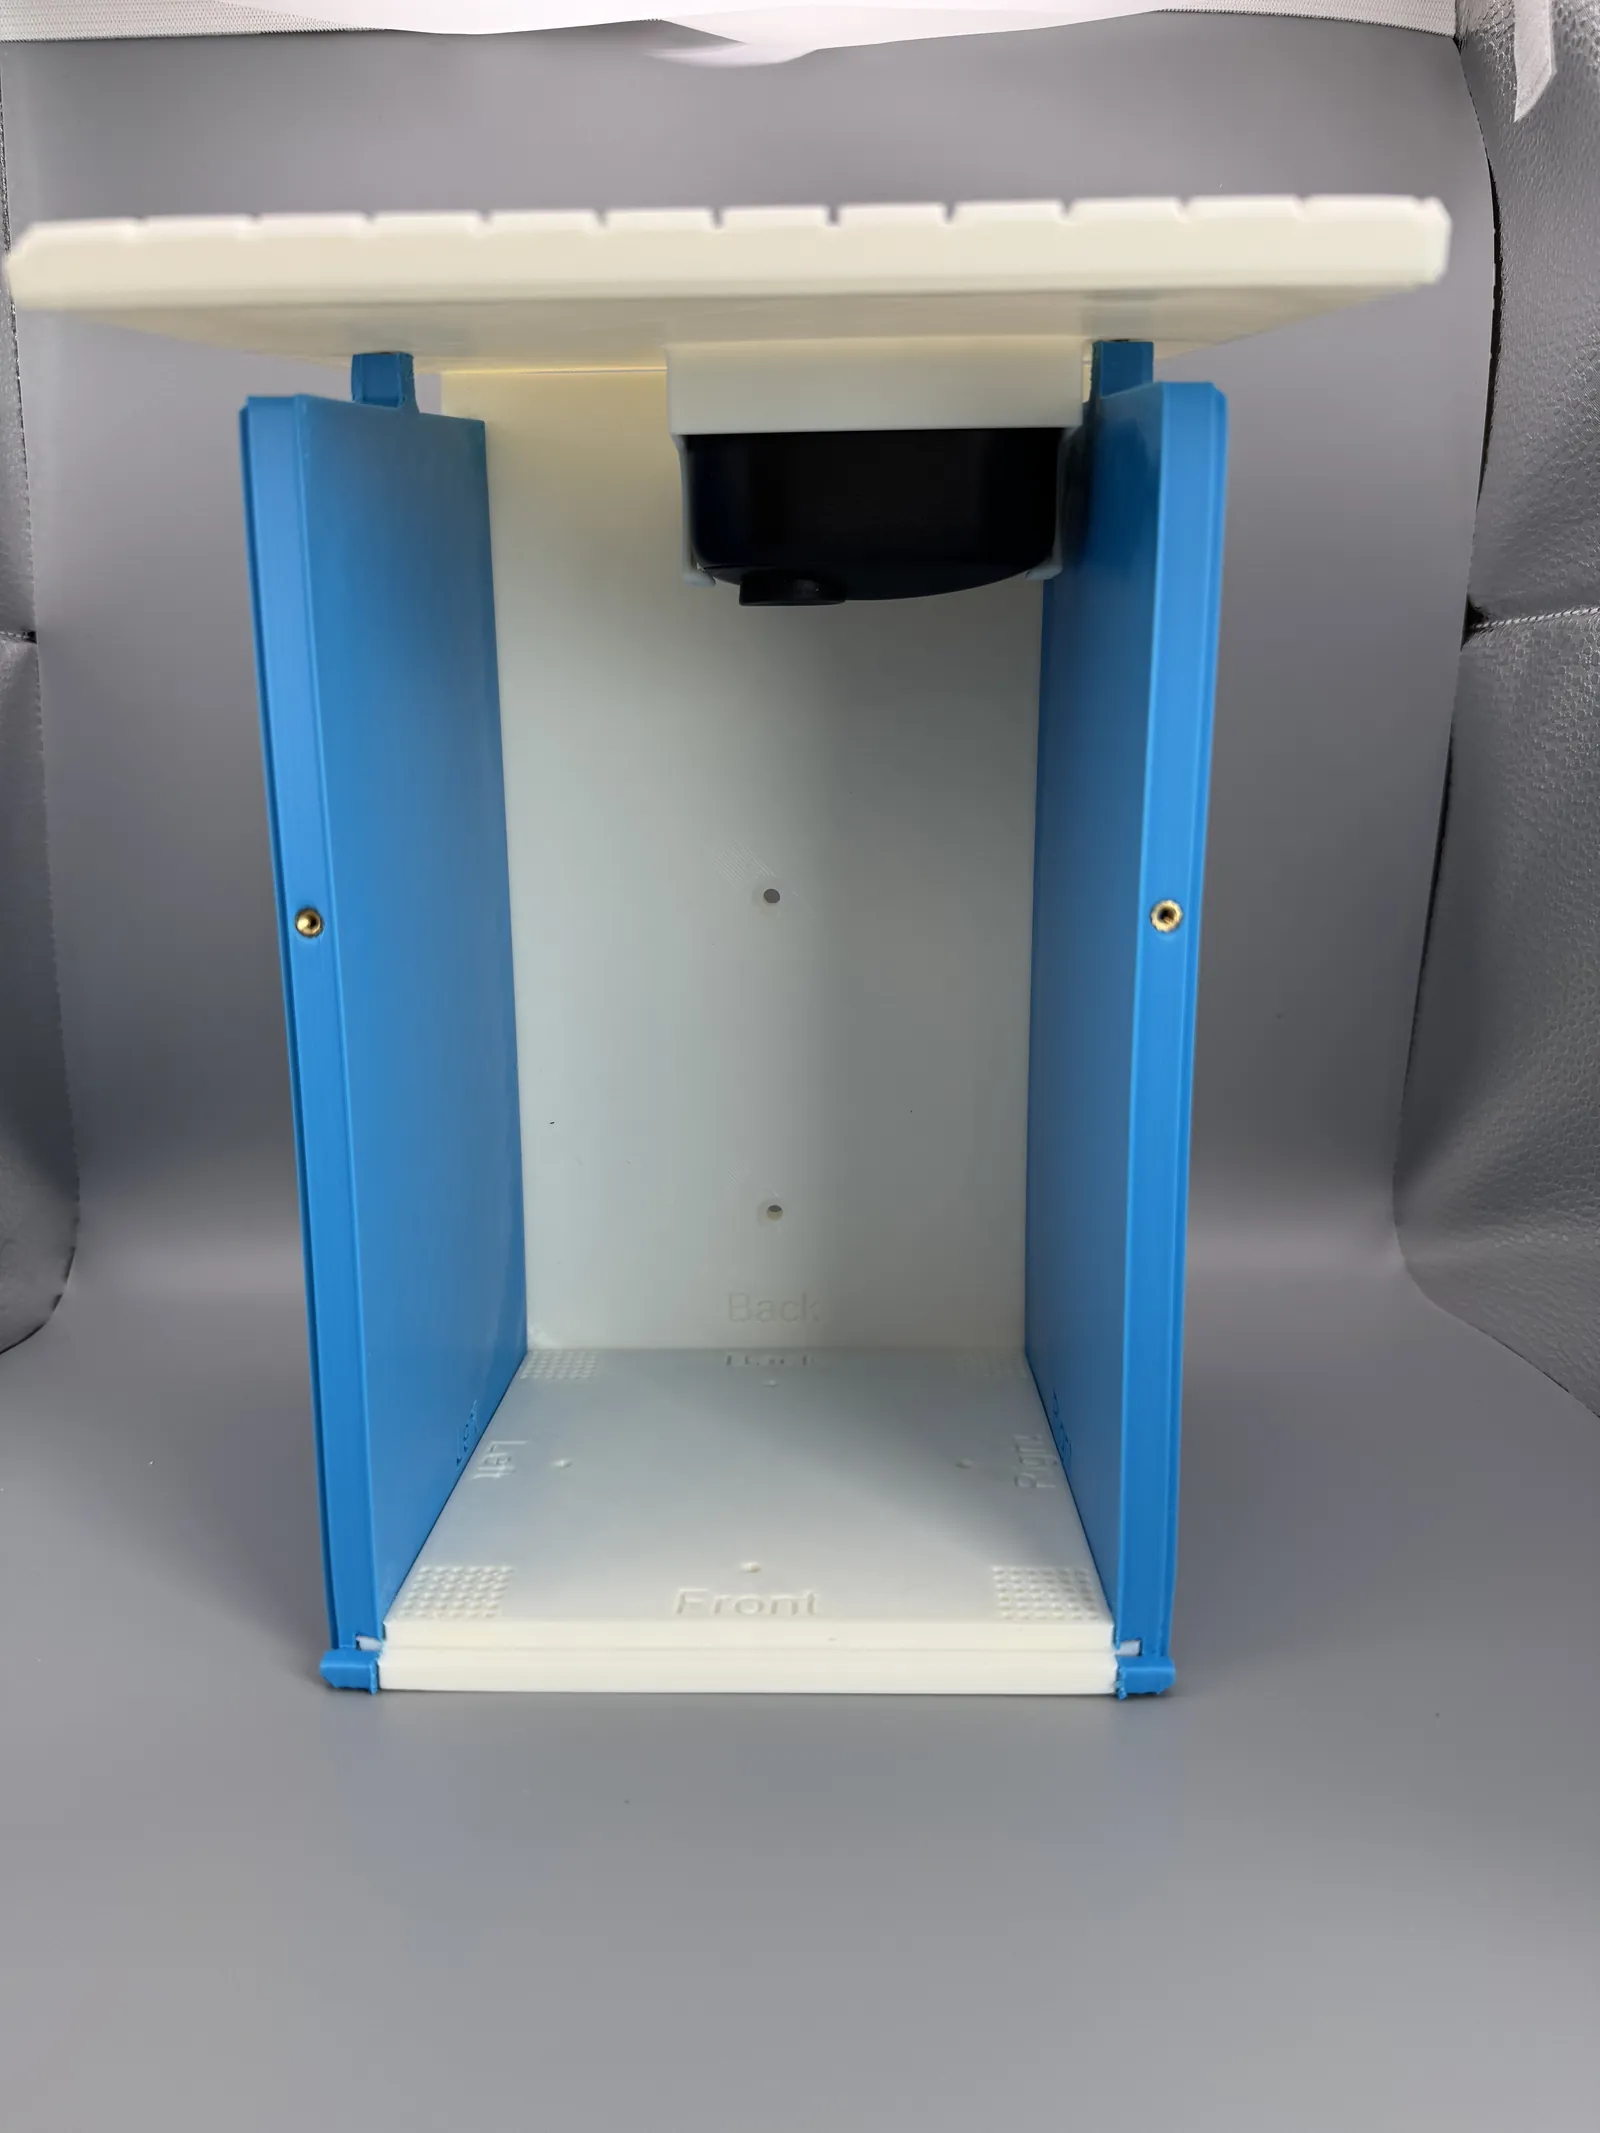
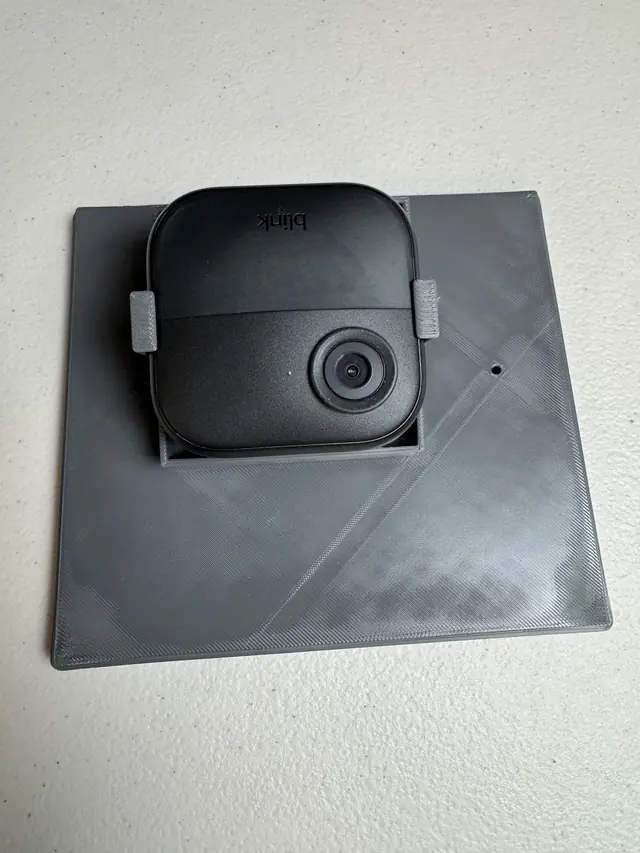
A clip-in cradle holds the Blink Outdoor 4 — battery-powered and wireless — near the center of the roof panel for the widest field of view. Nudge the camera in the holder to fine-tune the framing, then watch the whole season unfold from your phone.
Cleanout and camera maintenance take about a minute — loosen two screws and the front detaches; two more and the roof lifts off. The Blink Outdoor 4 is widely available and frequently discounted around Prime Day and Black Friday; it needs a Blink Sync Module, and some kits add local storage or extended range.
Few birdhouses target a species — so I built one that does
There are plenty of beautiful birdhouses to print, but few are built around attracting one particular species. I wanted a design where changing a few parameters produces the right home for a given species — the correct hole size, hole height, floor, and ledge — and I wanted to watch what happened inside. So the roof carries a clip-in mount for a Blink camera, and the box is tuned bird by bird.
The design has kept growing with the people who print it. One maker asked to see the view from inside, so I added installed photos and camera screen-grabs. Another adapted the roof to fit an Onn camera instead of a Blink. And when a printer noticed a front panel was 20 mm too tall, I published corrected profiles within a few days.
One parametric model, every species
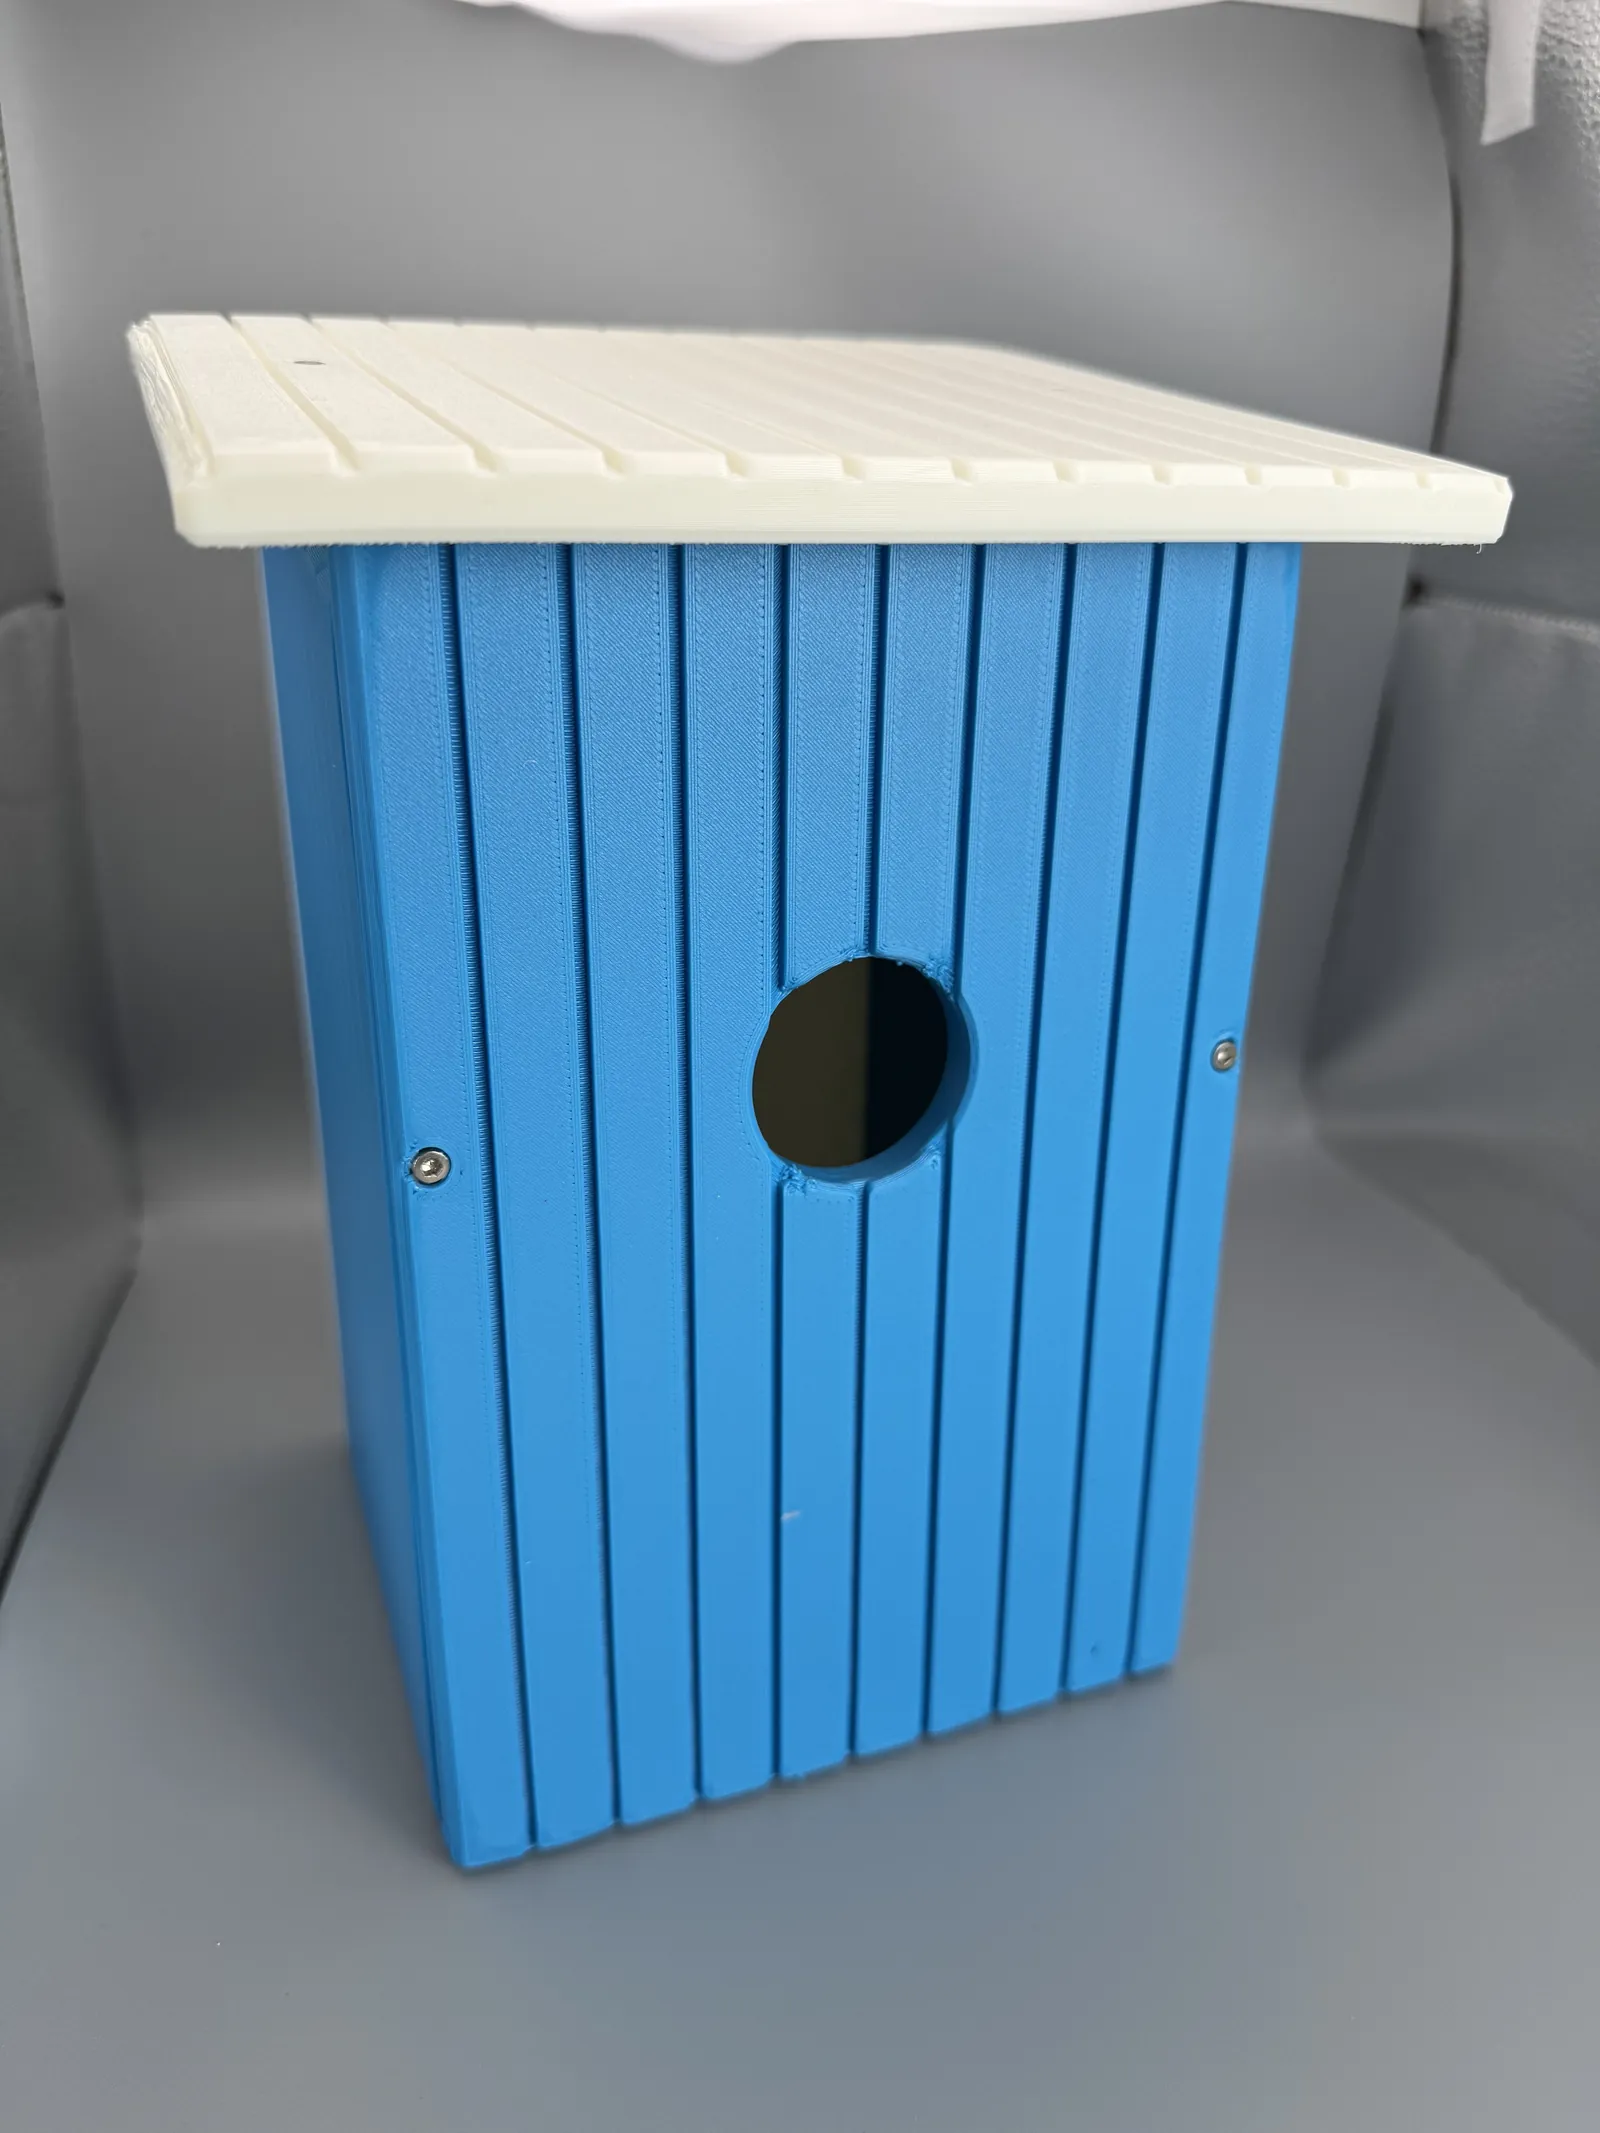
This is a single parametric model built in Fusion. A handful of user parameters drive the whole house — change the entry-hole diameter, the hole height above the floor, and the interior floor size, and every panel, dovetail, and front updates together. The close-variant fronts (Eastern vs. Western Bluebird, Carolina vs. other Wren, Nuthatch vs. Chickadee) come straight out of swapping those hole values.
The camera cradle, top ventilation slots, floor drains, and both mounting options are part of the same parametric body, so they carry across every size. It reached this point the way all my models do — design, print a prototype, revise, and repeat until it earns its spot (not to mention more than a fair share of mistakes along the way!).
- Entry-hole diameter — set per species, from 1 ⅛″ to 1 9⁄16″.
- Hole height above floor — 4″, 5″, or 6″ depending on the bird.
- Interior floor size — 4×4″ or 5×5″, driven by one parameter.
- Fledging ledge — added where the species needs it.
- Blink Outdoor 4 cradle — built into the roof panel.
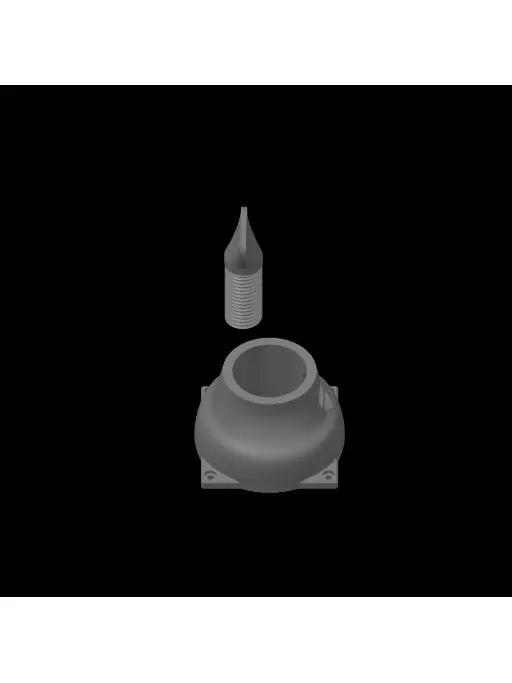
- Post holes + optional pole bracket — mount it either way.
Two screws for the top, two for the front — the rest slides together
The box goes together with printed dovetail joints and just four M3 screws — no glue. Here's the full sequence, from heat-set inserts to mounting it outside.
-
Install the heat-set inserts
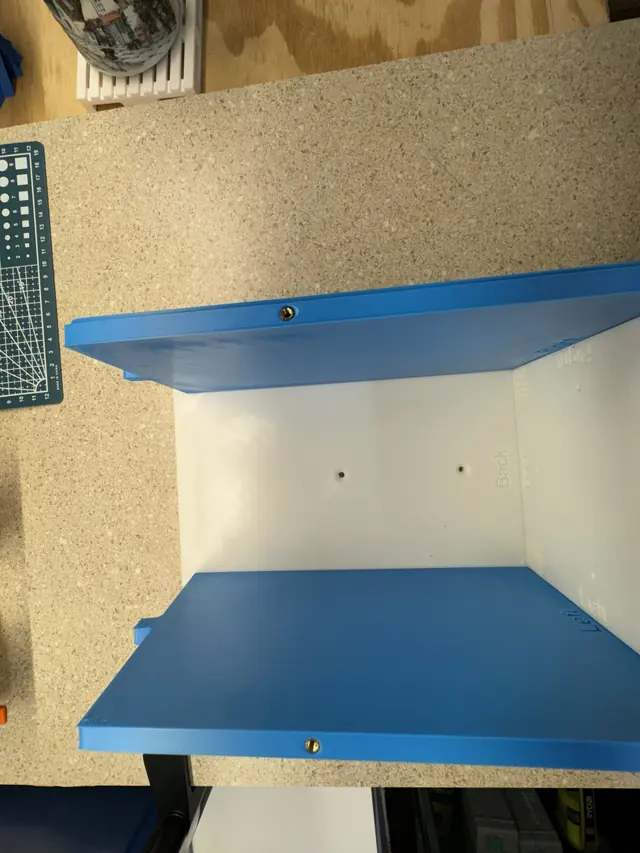
Press two M3 heat-set inserts into each side — one at the top, one at the front. If you're pole-mounting, add four more in the base. Either 4 mm long or 6 mm long M3 inserts work.
-
Slide the box together
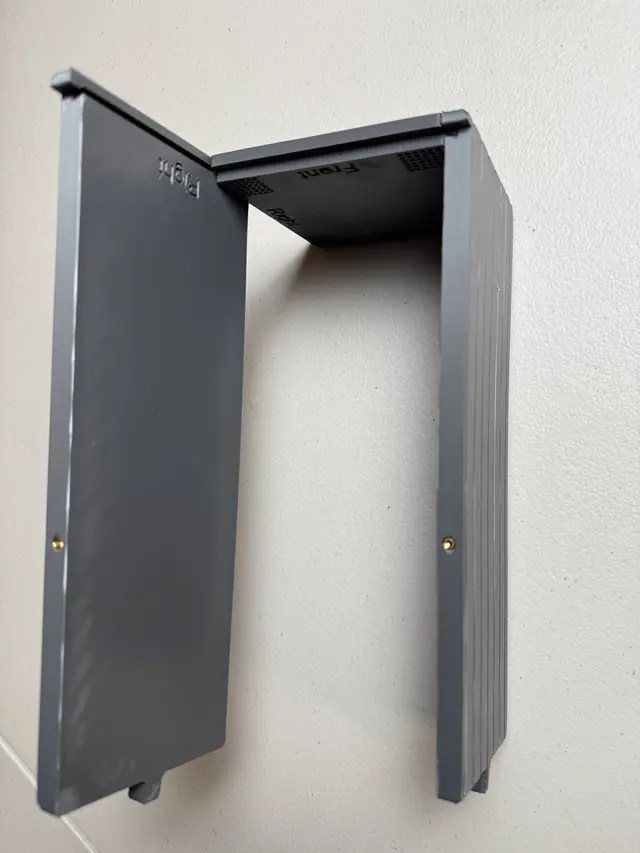
Slide the sides onto the base along the long dovetail joints, then slide the back down onto the left and right side dovetails at the same time. Clear any support material first. The profiles are set up to avoid supports inside the dovetails as much as possible. I've found using separate support material (for example, Support for ABS when printing ASA) makes a big difference in the ease of support removal and the joints sliding together — a drop of light oil also helps if a joint is tight.
-
Clip in the camera
If you're using a camera, slide it into the cradle with the lens toward the middle of the roof for the widest view. You can nudge it later to reframe.
-
Screw on the top and front
Attach the top to the two sides with two M3×12 screws, then attach the front with two more. The model is set up for socket-head screws, but flat or button heads work fine too.
-
Mount it — post or pole
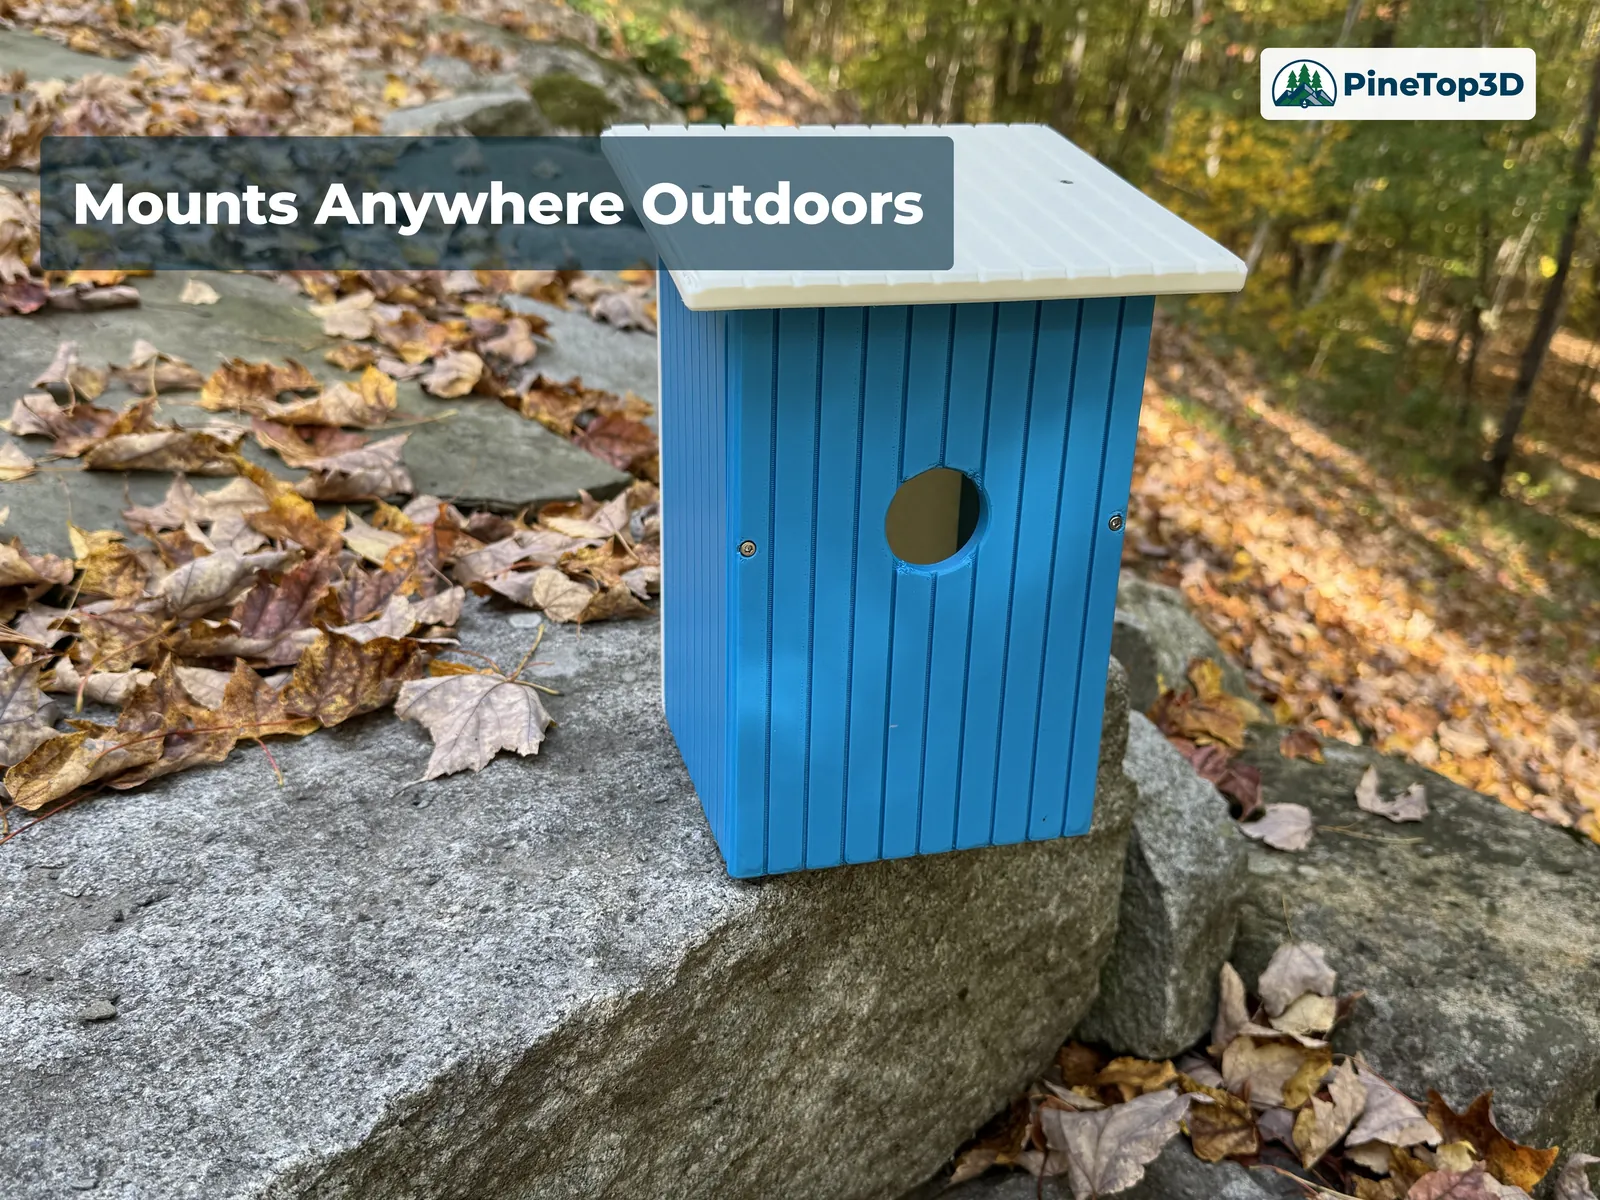
For mounting to a post, remove the front and drive exterior wood screws through the two holes in the back. For mounting on a pole, attach the printed bracket to the base with four M3×6 screws — the holes pass through, so don't let the screws protrude inside — then tighten the printed clamp screw to the pole. The bracket is sized for 1 ½″ pipe but grips smaller diameters too.
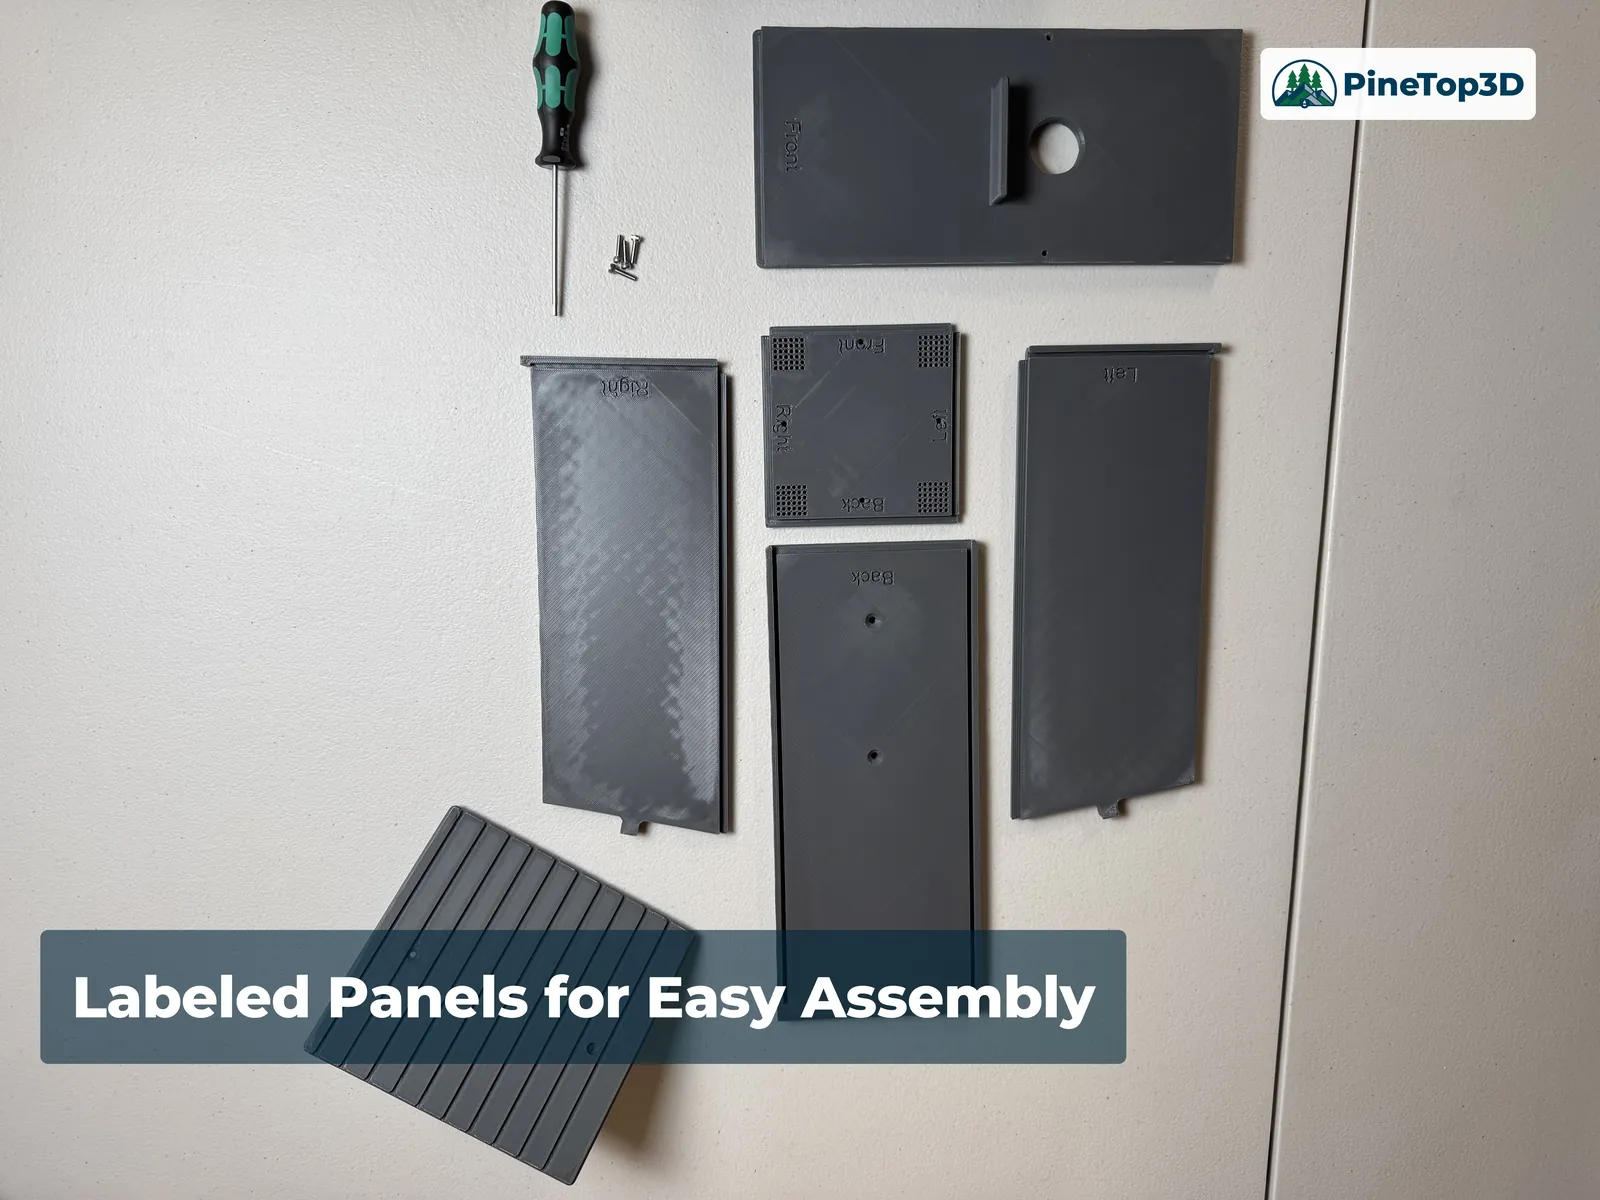
Loosen the two front screws and the front comes off; two more and the roof lifts away — about a minute to clean the box or swap the camera between seasons.
Species dimensions
Each profile is built to these figures, following Audubon recommendations. Sizing the hole for the species you want also helps keep unwanted species out.
| Species | Hole diameter | Hole height | Floor (L × W) | Interior ledge |
|---|---|---|---|---|
| Chickadee / Titmouse | 1 ⅛″ | 6″ | 4 × 4″ | Yes |
| Nuthatch | 1 ¼″ | 6″ | 4 × 4″ | No |
| Eastern Bluebird | 1 ½″ | 5″ | 5 × 5″ | Yes |
| Western / Mountain Bluebird | 1 9⁄16″ | 5″ | 5 × 5″ | Yes |
| Wren | 1 ⅛″ | 4″ | 4 × 4″ | Yes |
| Carolina Wren | 1 ¼″ | 4″ | 4 × 4″ | Yes |
Seven print profiles, ready to slice
| Profile | Print time | Plates | Rating |
|---|---|---|---|
| Carolina / Other Wrens (corrected dimensions) | 17.3 h | 8 | 4.8★ (5) |
| Bluebird | 22.9 h | 8 | 4.3★ (3) |
| Chickadees, Titmice & Nuthatches | 25.6 h | 8 | 5.0★ (1) |
Most species profile ship for both the X / P / A and H printer families — seven profiles in all, including the retained original Wren profile. The tall Chickadee-Nuthatch-Titmouse profile is H printer only. Every profile carries an optional pole-mount build plate.
- Material: ASA for a box that lives outside year-round — it resists UV and weathering. PETG is an alternative if you can't hold ASA chamber temps. PETG may not last as long but will hold up better than PLA or other low chamber-temp filaments.
- Layer height: 0.24 mm on a 0.4 mm nozzle.
- Walls / infill: 3 walls at 8% infill — the walls do the structural work, so infill stays low.
- Bed adhesion: parts are large and flat — clean plate, good glue, and a heated chamber for ASA.
- Separate support-interface material — supports are enabled for key areas. For the cleanest removal, print a different material for the interface (I used "Support for ABS" under ASA prints) and accept Bambu Studio's suggested support changes.
- Wood-grain finish (optional) — the wood look in some photos comes from PandaN's wood-grain modifier, not a special filament. It takes some tinkering in Bambu Studio; it isn't baked into the profiles, so credit the author if you use it.
- Filaments shown — Polymaker ASA in Olive Brown and Army Brown.
Pick your species, print the right home, and watch the season unfold.
One parametric birdhouse, sized bird by bird, with a camera built into the roof. The download is free on MakerWorld — and a download helps support the shop.
Download free on MakerWorld