
Covers for Mrs. Meyer's Hand Soap Bottles
Makes the soap bottle match the room. Two sizes, any color.
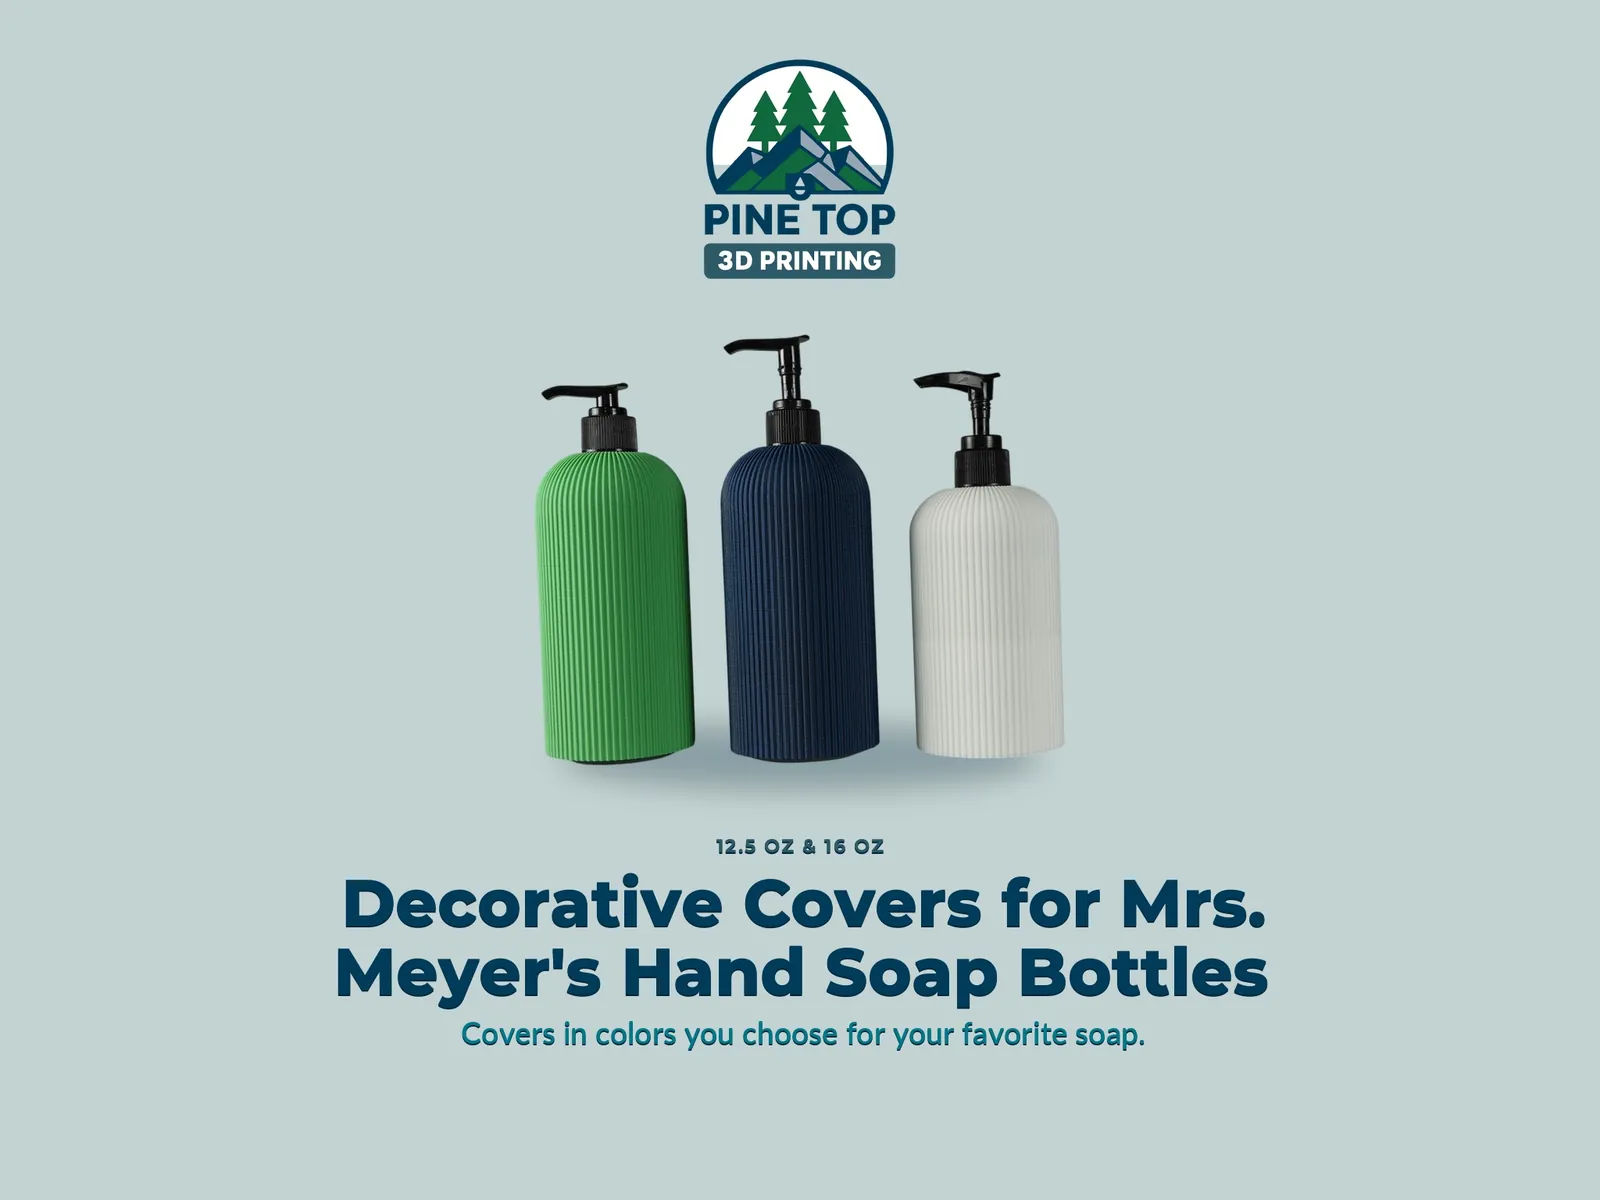
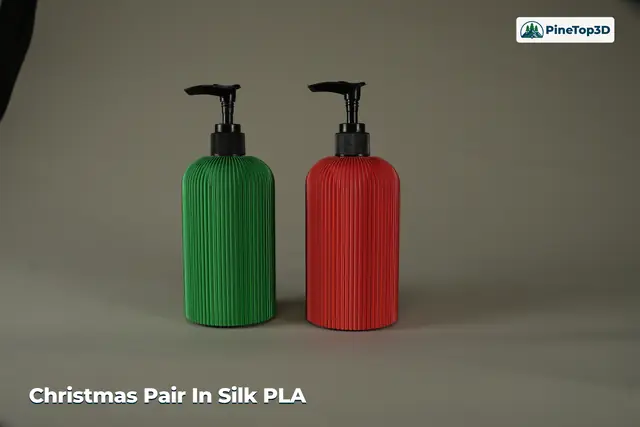
A ribbed, one-piece cover that slips over a Mrs. Meyer's Clean Day liquid hand soap bottle, so the bottle by your sink is the color you picked. Print the cover in whatever filament suits the kitchen, the bathroom, or the season — the Silk+ red and green pair is the Christmas example. Covers are included for both the 12.5 oz and the 16 oz bottles.
3 print profiles included · Free download · Standard Digital File License
Pump off, cover on, pump back on
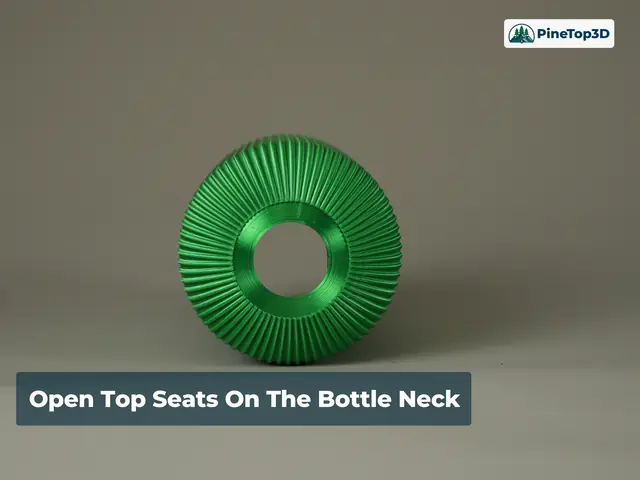
The cover rests on the bead at the bottle's neck rather than on the counter, so it sits at the same height every time. When the bottle is empty, lift the cover off and move it to the next one.
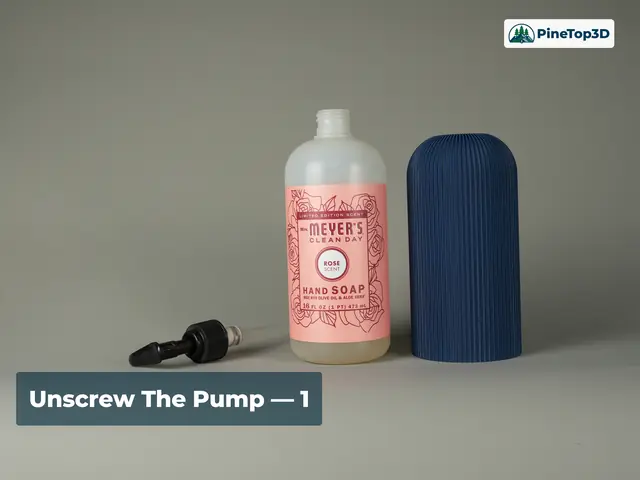
1 · Unscrew the pump
Step 1Take the pump off and set it aside. Nothing else about the bottle changes — it stays the container and the pump stays the pump.
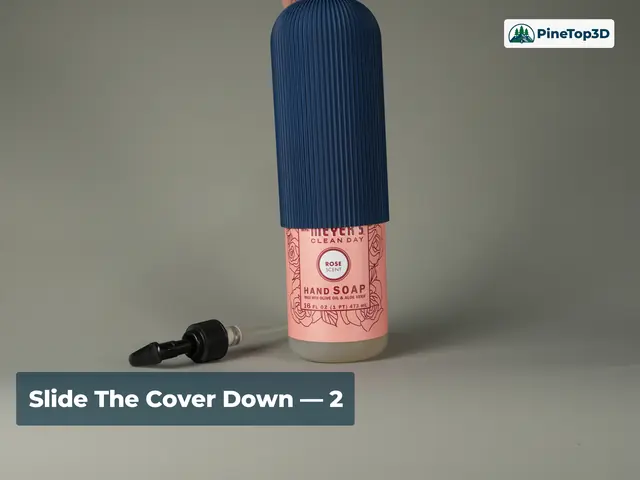
2 · Slide the cover down
Step 2Lower the cover over the bottle from the top. It slides on without force and seats on the neck bead; the bottom edge stops just short of the counter.
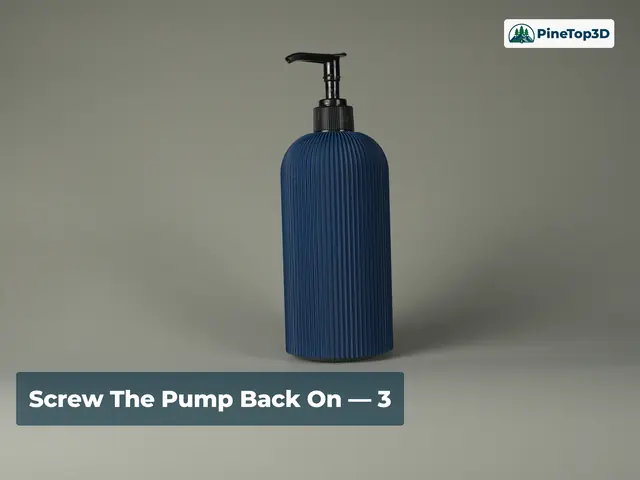
3 · Screw the pump back on
Step 3Thread the pump back on through the cover's top opening. The opening clears the neck and doesn't foul the pump collar.
Catches the light, hides the layer lines
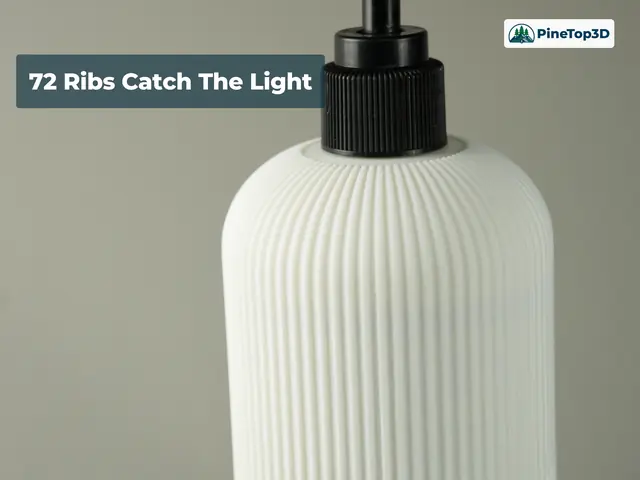
The outside carries 72 half-round vertical ribs that fade into a smooth band near the top. They catch side light, hide layer lines, and give matte and silk filaments something to show off. The wall is 1.6 mm thick, so the cover feels solid in the hand.
Both sizes come from one parametric Fusion model and were fit-tested on real bottles: 0.5 mm of clearance around the body and a closer fit at the neck, so the cover slides on without force.
| Size | Cover height |
|---|---|
| 12.5 oz bottle | about 128 mm |
| 16 oz bottle | about 149 mm |
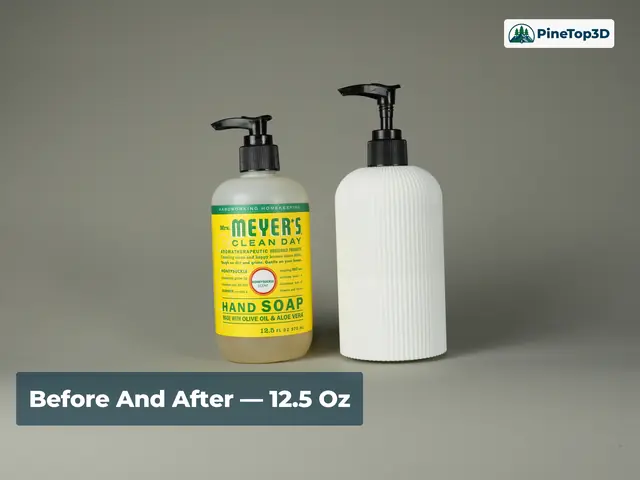
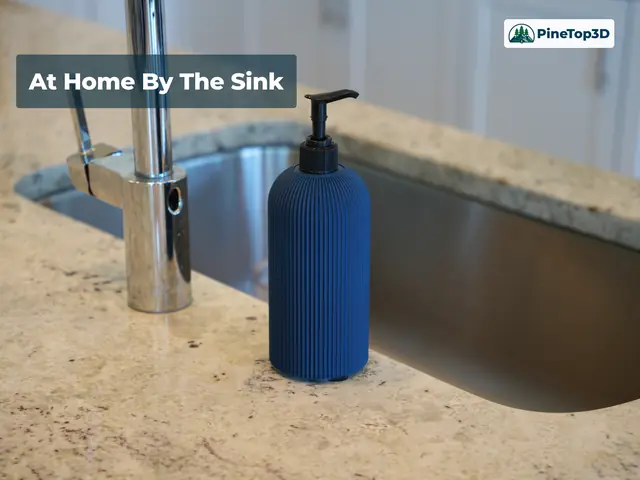
Match the room, or swap it with the season
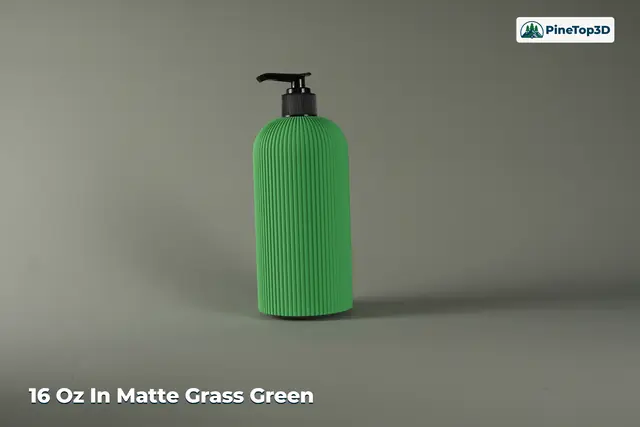
The covers shown are Bambu Lab PLA Matte Grass Green and PLA Matte Dark Blue (16 oz) and PLA Marble White (12.5 oz). The red and green pair is PLA Silk+ for the holidays on 12.5 oz bottles; the ribs put a bright stripe down every silk print. Pick a color for each room, or swap them with the season.
Keep buying the soap you like. The bottle stays exactly as it came — the cover is purely cosmetic and lifts straight off.
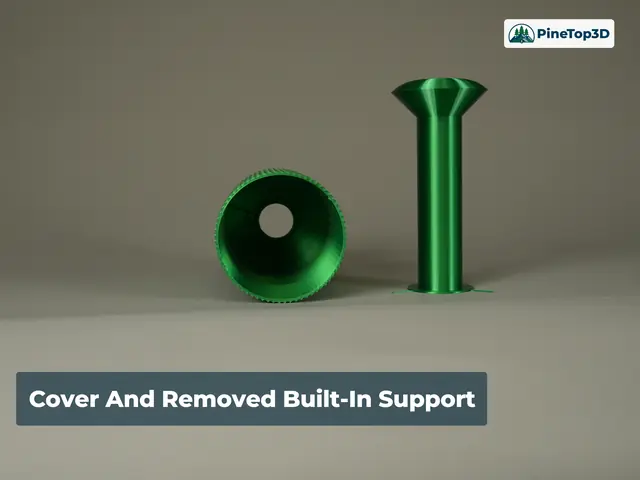
Removing the built-in support
Two cuts and a wiggle. Watch it once before your first print — it takes less than three minutes.
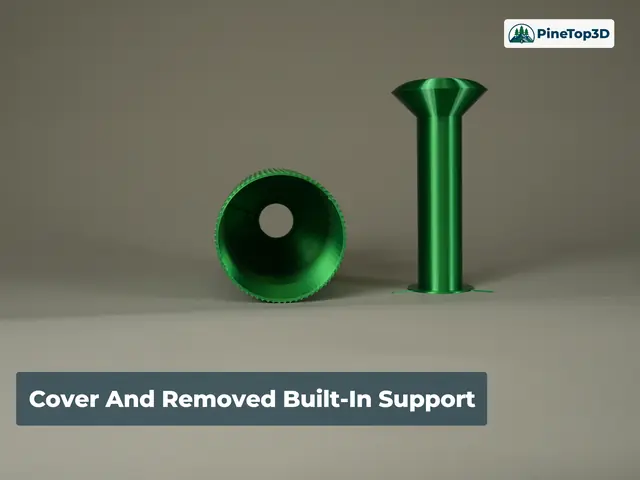
Soap Bottle Cover — Removing the Built-in Support
Flush-cut the three tabs where the support meets the inner wall at the bottom, then rock the center stalk side to side and it comes out in one piece. The video shows the whole process on a finished print.
Watch on YouTubeThe cover is defined by the bottle
I didn't start sketching in Fusion until I measured with calipers and photographed them on graph paper. Understanding the curvature of the shoulder and neck of the bottle is much easier when you can see it against a grid. The cover is a shroud: it goes on from the open bottom and hangs on the bottle's shoulder, so its inside profile has to clear the bottle at every height and never get wider going up. I modeled the bottle's shoulder as a quarter-ellipse; the cover's inner surface is the same ellipse with both axes grown by the clearance, which holds the 0.5 mm body gap closely.
I wanted a design that I could easily change for the two different bottle sizes (and new ones if they emerge). The parameter set for the model is split in two in accordance with the Fusion setup. Driving values are the parameters I measured or choose: body and neck diameters, where the shoulder starts and ends, the neck bead, the pump collar, clearances, wall thickness, rib count. Everything else — cover diameter, bore, dome semi-axes, cover height, the radius where neighboring ribs merge — is derived. Cover height is computed from the measured bottle minus a fixed bottom gap, not typed in, so it can't silently break on the next size. The 16 oz version was the test of whether I had that split correct: change the driving parameters to the second bottle, change back, and see if the restored body matched the original exactly. The swing caught two sketch-constraint defects that I didn't pick up at the 12.5 oz values.
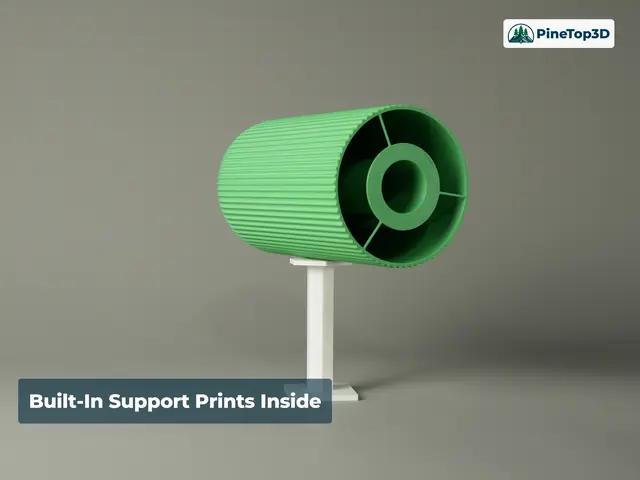
The dome of the cover follows the bottle and goes horizontal at the neck, so during printing the ceiling needs support from inside. I wanted to print "right-side-up" so that the visible surface didn't have blemishes from supports. That meant only the narrow bottom ring of the cover would contact the build plate — that's asking for trouble with a long, tall print, and I didn't want to add a brim. An outer brim could be difficult to remove cleanly from the cover's ribs, and an inner brim, while cleaner to remove, was still a post-print cleanup task. The tall, thin support favored by most slicers also could be a weak point for adhesion or wobble.
Rather than leave all of these problems to the slicer, the design provides support as a second modeled body: a hollow column on a base disc, a 45° cone flare up to the point where the dome passes 45°, and a solid cap that sits one layer below the inner dome. Three small breakaway tabs join it to the cover's bottom edge. It prints fused to the cover as one body by those tabs. This way, the support and the model can't move relative to each other during printing, and each body's adhesion to the build plate helps keep the other in place, too, without extra brims. Cleanup is a quick clip of the three tabs where they meet the cover, a couple of back and forth pushes on the center support structure, and the support pops out. Any roughness on the inside of the top is hidden and the outside of the cover remains blemish-free. I provide the plain shell alongside for anyone who prefers auto supports or wants to experiment with the slicer.
- One model, two bottle sizes — the second size was a straight-forward parameter change, not a remodel
- Driving vs. derived parameters: measure the bottle, make everything else compute
- Quarter-ellipse shoulder, offset by clearance
- 72 elliptical-section ribs run over the dome and are trimmed where neighbors touch
- Designed breakaway support body — the same tested support in any slicer
Three print profiles, already oriented open end down
| Print profile | Plates | Filament | Print time (H2C) |
|---|---|---|---|
| 12.5 oz Cover (built-in support) | 1 | 95 g | 5 h 19 m |
| 16 oz Cover (built-in support) | 1 | 108 g | 6 h 0 m |
| Covers Using Slicer Supports (16 oz and 12.5 oz) | 2 | 95 g / 83 g | 5 h 30 m / 5 h 3 m |
Which one should you print? The domed top needs support while printing. The built-in support profiles carry a support structure that is part of the model, so it works in any slicer and prints the same tested way every time, whatever support style your slicer would otherwise choose — and the connection at the bottom gives stability during the print that slicer-generated supports can't. If you prefer your slicer's own supports, the third profile has the plain shells with tree supports turned on.
- Material: PLA. Every cover shown is PLA (Matte, Marble and Silk+), and that is the material the fit was tested in; other materials should also work fine.
- Profile: 0.20 mm High Quality, 2 walls, 10% infill, on a Bambu Lab H2C with a 0.4 mm nozzle.
- Supports: for the two built-in support profiles, keep slicer supports off — the support is already in the model. The slicer-supports profile has tree supports enabled and an inner brim to help hold them in place.
- Orientation: open end down, as supplied.
Cut the support tabs at the bottom where they meet the inner wall with flush cutters, then rock the center stalk from side to side and it comes out. The video shows the whole process — watch it before your first print.
Pick a color, print a cover, and let the bottle add to the room.
Both sizes in one free download on MakerWorld — and a download helps support the shop.
Download free on MakerWorldMrs. Meyer's® and Clean Day® are trademarks of The Caldrea Company / SC Johnson. Pine Top 3D is not affiliated with, sponsored by, or endorsed by SC Johnson. The brand name is used only to identify the bottles this cover fits.